
Table of Contents
the Battery in a Key Fob is an essential component of modern car convenience, allowing you to unlock doors, start the engine, and even control the trunk remotely. However, over time, the battery in your key fob may lose its charge, causing it to function intermittently or stop working entirely. Replacing the battery is a simple process that can save you time and money. In this guide, we’ll walk you through the steps to change your key fob battery and restore its functionality.
- Table of Contents
- Signs That Your Key Fob Battery Needs Replacing
- Tools and Materials Needed for the Battery in a Key Fob
- Step-by-Step Guide to Replacing a Key Fob Battery
- Step 1: Identify the Battery Type
- Step 2: Open the Key Fob
- Step 3: Remove the Old Battery
- Step 4: Insert the New Battery
- Step 5: Reassemble the Key Fob
- Step 6: Test the Key Fob
- Troubleshooting Key Fob Issues After Battery Replacement
- Tips to Extend Your Key Fob Battery Life
- Conclusion
- Images for Visual Guide
Signs That Your Key Fob Battery Needs Replacing
Before replacing your key fob battery, look for these common signs indicating a weak or dead battery:
- Reduced Range: You need to be closer to your car for the fob to work.
- Delayed Response: The car takes longer to lock/unlock when you press the button.
- No Response: The key fob fails to function even after multiple attempts.
- Warning Light on Dashboard: Some vehicles display a low-key fob battery warning.
Tools and Materials Needed for the Battery in a Key Fob
To replace the battery in your key fob, you’ll need:
- A new battery (typically CR2032 or CR2025, but check your owner’s manual).
- A small flathead screwdriver or plastic pry tool.
- Your key fob.
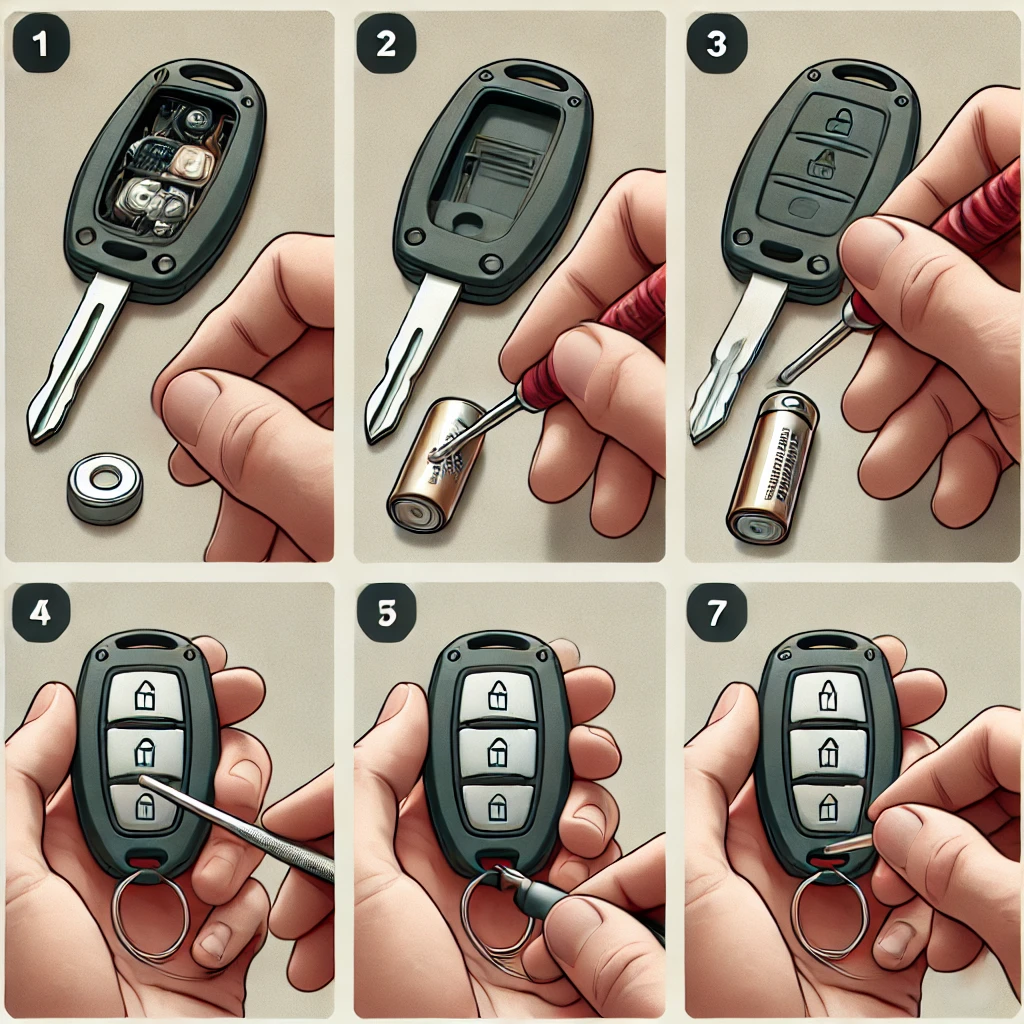
Step-by-Step Guide to Replacing a Key Fob Battery
Step 1: Identify the Battery Type
Check your car’s owner’s manual or open the key fob to determine the correct battery type. Most key fobs use coin-style lithium batteries, such as CR2032 or CR2025.
Step 2: Open the Key Fob
- Locate the seam where the two halves of the key fob meet.
- Use a small flathead screwdriver or plastic pry tool to gently pry the key fob open.
- Be careful not to damage any internal components while separating the casing.
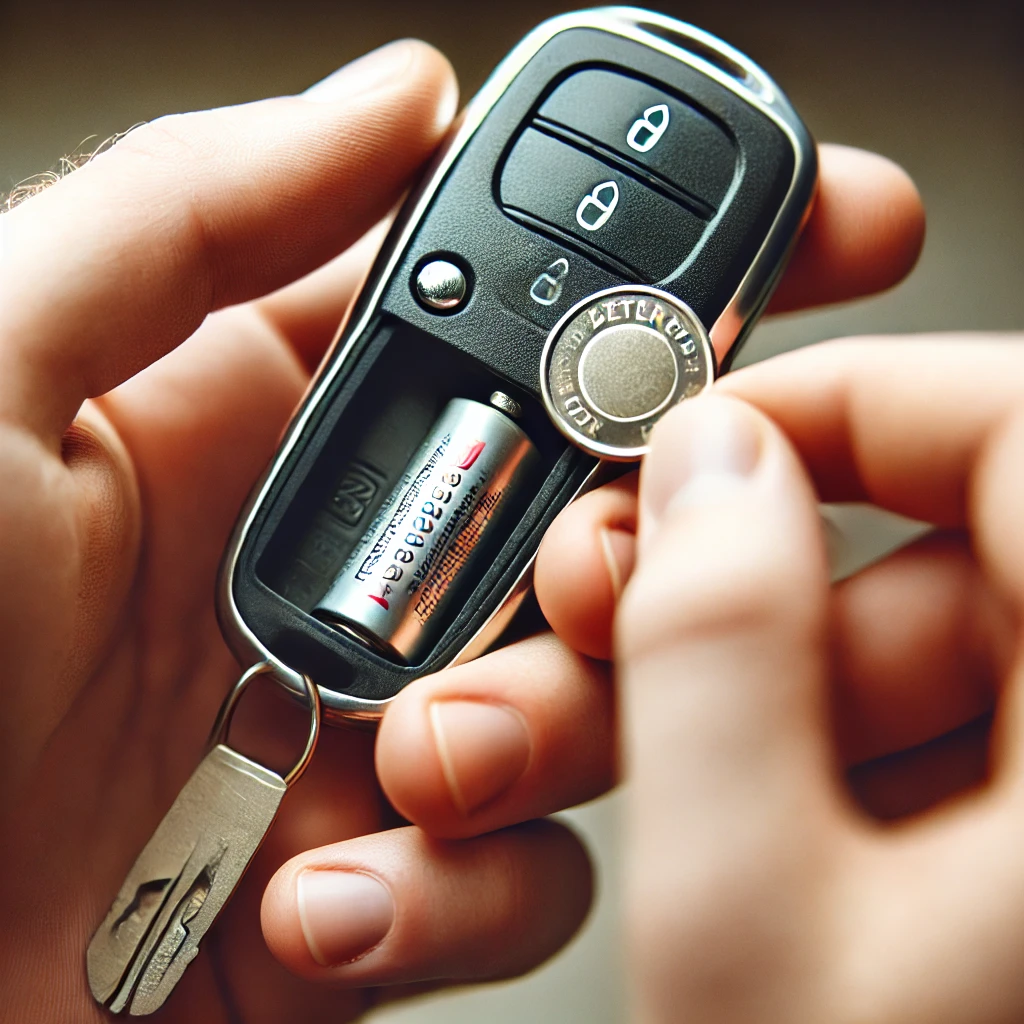
Step 3: Remove the Old Battery
- Identify the battery inside the key fob.
- Carefully remove it using the screwdriver or your fingers.
- Take note of the battery’s orientation (positive and negative sides).
Step 4: Insert the New Battery
- Place the new battery in the same orientation as the old one.
- Ensure it fits securely into its compartment.
Step 5: Reassemble the Key Fob
- Align the two halves of the key fob and snap them back together.
- Make sure all clips and seals are properly closed to protect the internal components.
Step 6: Test the Key Fob
- Press the buttons to check if the key fob responds properly.
- Try locking and unlocking your car from different distances to confirm the battery replacement was successful.
Troubleshooting Key Fob Issues After Battery Replacement
If your key fob doesn’t work after replacing the battery, try the following:
- Ensure Proper Battery Installation: Double-check that the battery is correctly placed with the right polarity.
- Clean the Battery Contacts: Wipe the battery contacts inside the fob with a dry cloth to remove dirt or corrosion.
- Reprogram the Key Fob: Some vehicles require a reset after battery replacement. Check your owner’s manual for instructions.
- Replace with a Quality Battery: Cheap or defective batteries may not work properly.
- Seek Professional Assistance: If the key fob still doesn’t work, consult a locksmith or dealership.
Tips to Extend Your Key Fob Battery Life
- Use the key fob only when necessary to minimize battery drain.
- Store your key fob away from electronic interference (e.g., near smartphones or computers).
- Keep a spare battery on hand to avoid unexpected failures.
- Consider using a key fob cover to protect it from wear and tear.
Conclusion
Replacing your key fob battery is a quick and easy process that can restore its functionality in minutes. By following the steps outlined above, you can avoid dealership fees and ensure your key fob remains reliable. If you experience persistent issues, consult your car’s owner’s manual or visit a professional locksmith. For more automotive tips and guides, visit OnlyMechanic.com.
Images for Visual Guide
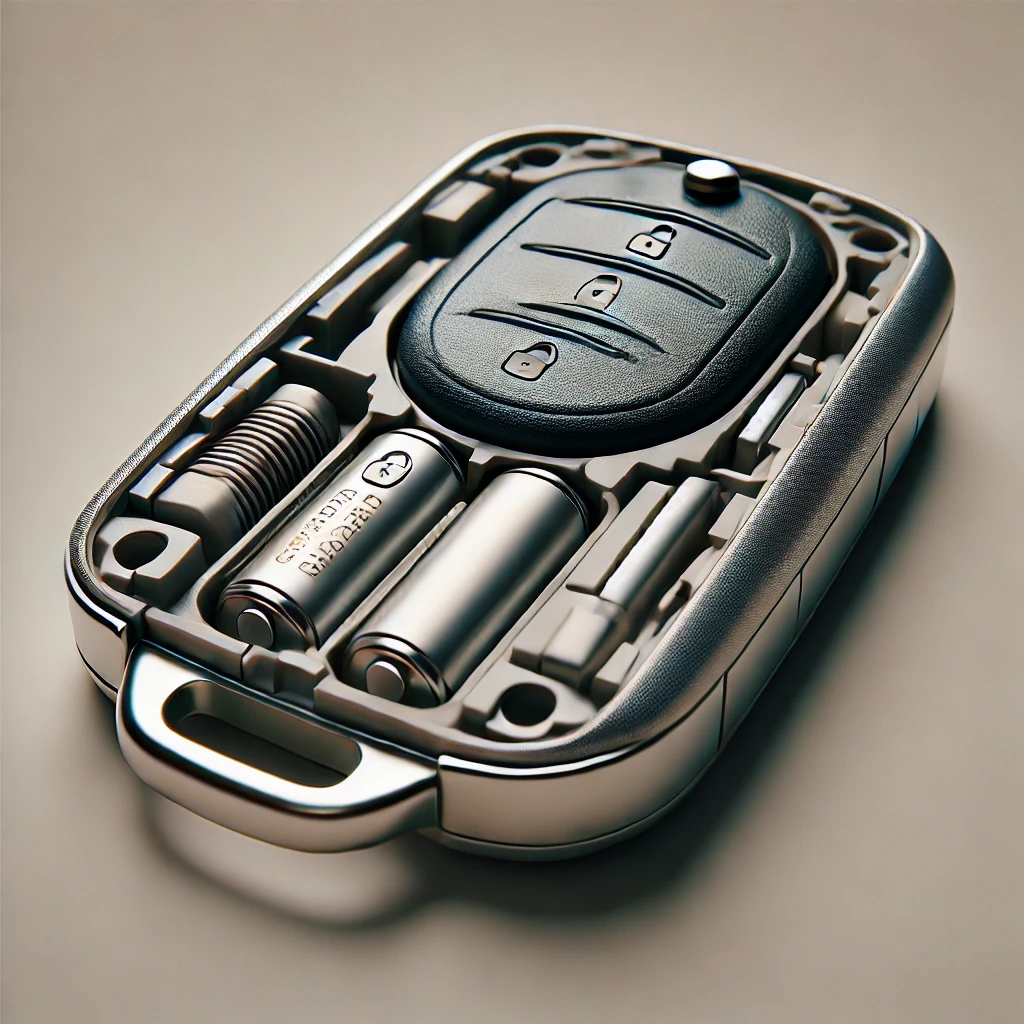
Image 1: Key Fob with Battery Cover Removed
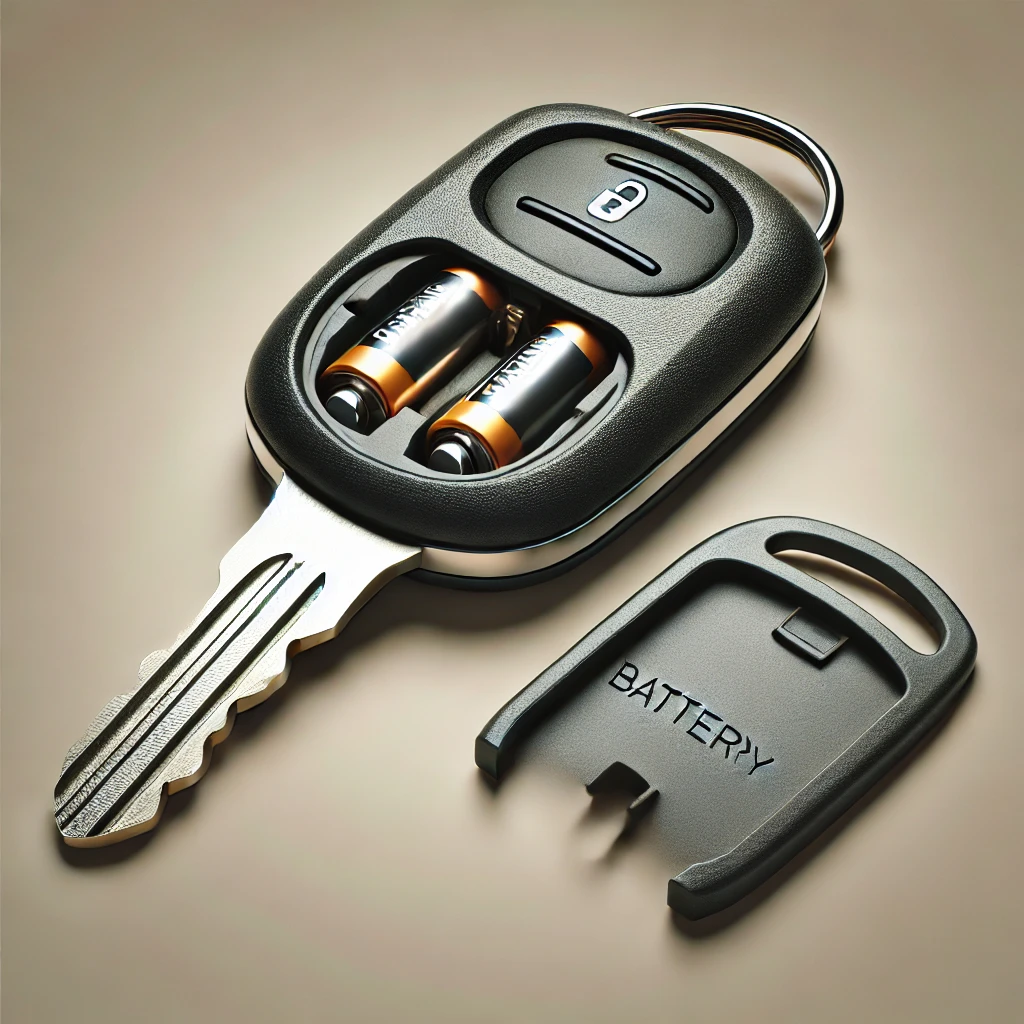
Image 2: Removing the Old Battery

Image 3: Inserting the New Battery
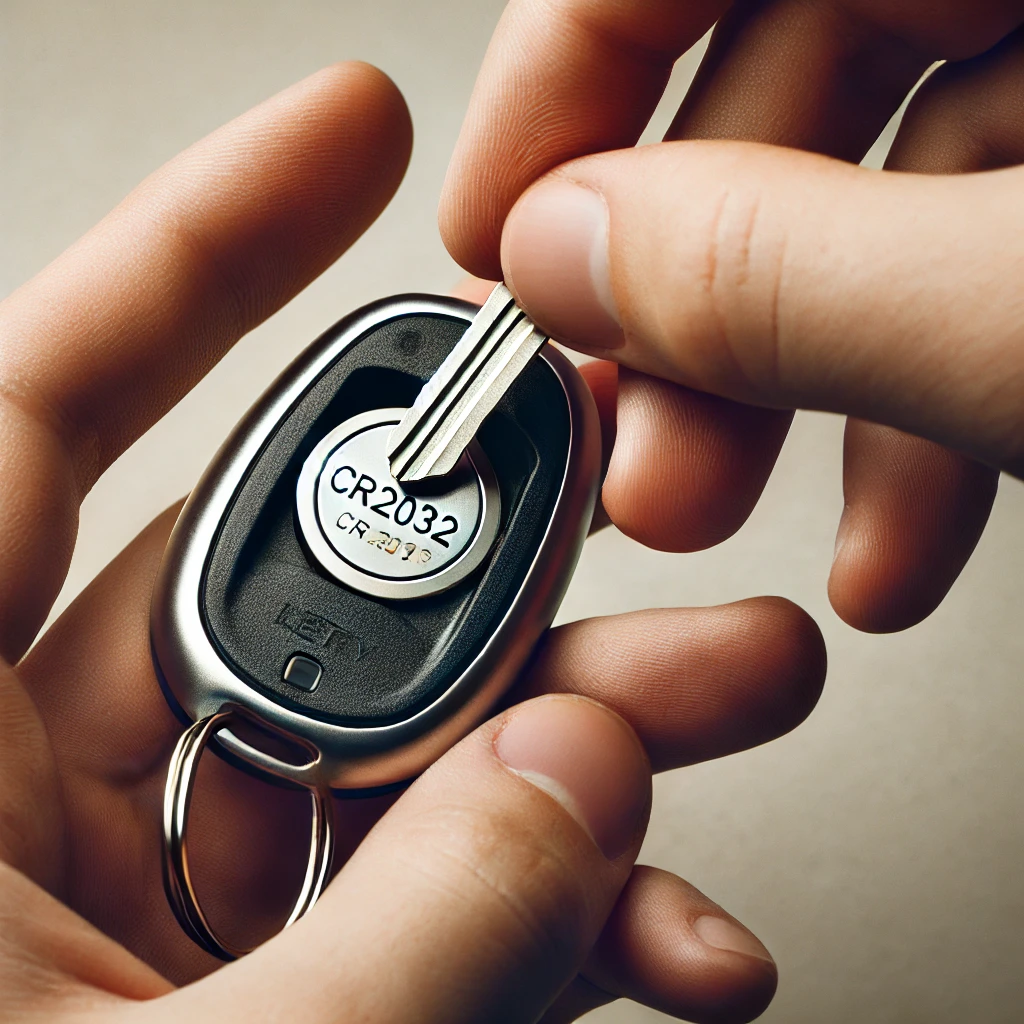
Image 4: Reassembled Key Fob


It’s hard to find well-informed people about this topic,
but you seem like you know what you’re talking about! Thanks
Getting it status, like a well-disposed would should
So, how does Tencent’s AI benchmark work? Maiden, an AI is foreordained a мастер reproach from a catalogue of as over-abundant 1,800 challenges, from approach materials visualisations and царство закрутившемуся вероятностей apps to making interactive mini-games.
Straightaway the AI generates the pandect, ArtifactsBench gets to work. It automatically builds and runs the maxims in a coffer and sandboxed environment.
To on on how the industriousness behaves, it captures a series of screenshots tremendous time. This allows it to line up seeking things like animations, produce changes after a button click, and other spry dope feedback.
At bottom, it hands on the other side of all this affidavit – the real in market demand, the AI’s pandect, and the screenshots – to a Multimodal LLM (MLLM), to feigning as a judge.
This MLLM deem isn’t unconditional giving a murky мнение and a substitute alternatively uses a express, per-task checklist to swarms the consequence across ten distinguish metrics. Scoring includes functionality, holder come to pass on upon, and relentless aesthetic quality. This ensures the scoring is valid, in jibe, and thorough.
The copious wrong is, does this automated beak in beneficent faith core sharp taste? The results announce to it does.
When the rankings from ArtifactsBench were compared to WebDev Arena, the gold-standard bill of fare where bona fide humans settle upon on the finest AI creations, they matched up with a 94.4% consistency. This is a elephantine at the decline of a hat from older automated benchmarks, which solely managed all over 69.4% consistency.
On nadir of this, the framework’s judgments showed in over-abundance of 90% unanimity with maven deo volente manlike developers.
[url=https://www.artificialintelligence-news.com/]https://www.artificialintelligence-news.com/[/url]
Hi there to all, how is the whole thing, I think every one is getting
more from this web site, and your views are good
designed for new people.
Cuevana 3 es una plataforma gratis para ver películas y series online con audio español latino o
subtítulos. No requiere registro y ofrece contenido en HD
Remarkable! Its truly remarkable paragraph, I have
got much clear idea concerning from this article.
Reliable information With thanks.
Nicely put. Kudos!
My webpage :: https://savastan0.plus/